


I saw this idea on Facebook (of all places) and had to give it a shot. I’d kept my bottle of Crystal Head Vodka for a few years and, being a Halloween nut, I knew I was going to do something cool with it but never got around to figuring out exactly what. When I saw this idea I instantly knew where it was going in our house – in the creepy stairwell to the theater room.
It was amazingly simple to build. Of course, here’s the part where I tell you to follow manufacturer’s instructions and to never work on electrical outlets in your house without first turning off the power. There are tons of references online for replacing a lighting receptacle safely so you should familiarize yourself with the process.
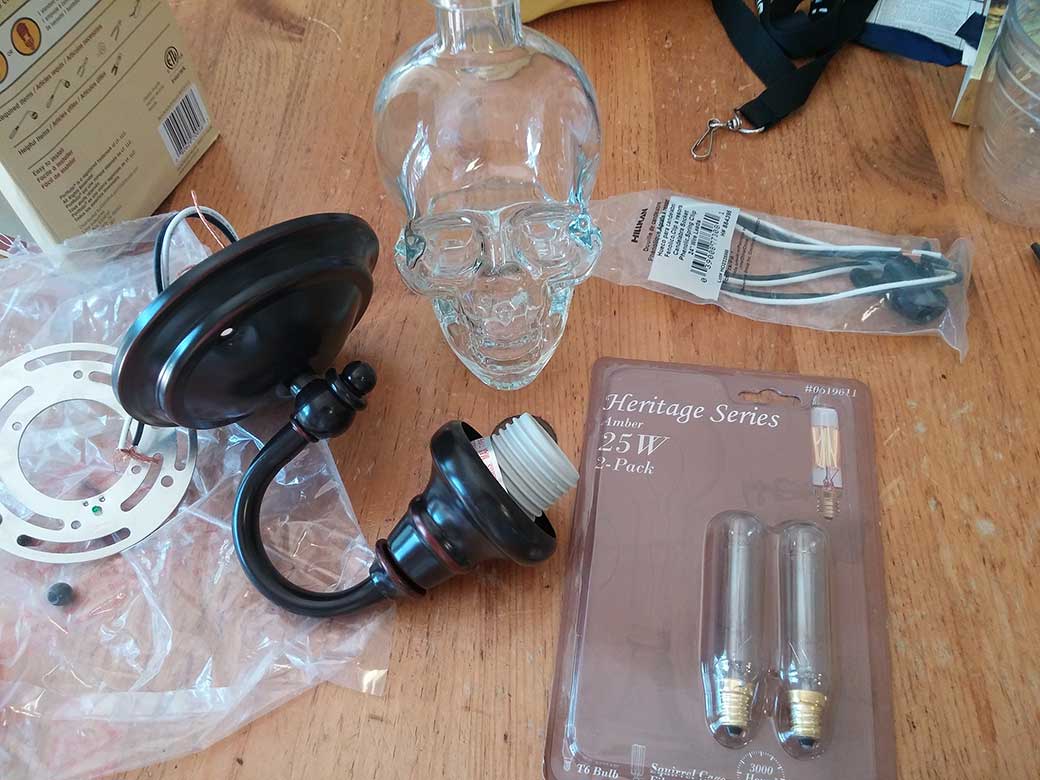
All of the pieces.
Getting the parts list together was as easy as hitting my local home improvement store. I found:
- a Portfolio brand wall sconce – shade was sold separately which was fine because I had my…
- Crystal Head vodka bottle (enjoy the vodka on a different day than your build and be sure it’s washed and dried)
- a Hillman candelabra socket with 24″ wire leads and a spring clip
- a candelabra sized light bulb – can’t be more than 1 inch wide and 4 inches tall. Pictured are 25W bulbs but I found this 40W warm white LED bulb on Amazon and went with that instead.
- Three 2 inch #6 machine screws for attaching the skull to the fixture – length can vary depending on your light fixture size. I got 2 inch and cut them down a little.
- Tools like pliers, screwdrivers and wire-strippers
That’s it! You’re ready to go. I think the whole lot cost me around $30 not including the Crystal Head Vodka.
Step 1
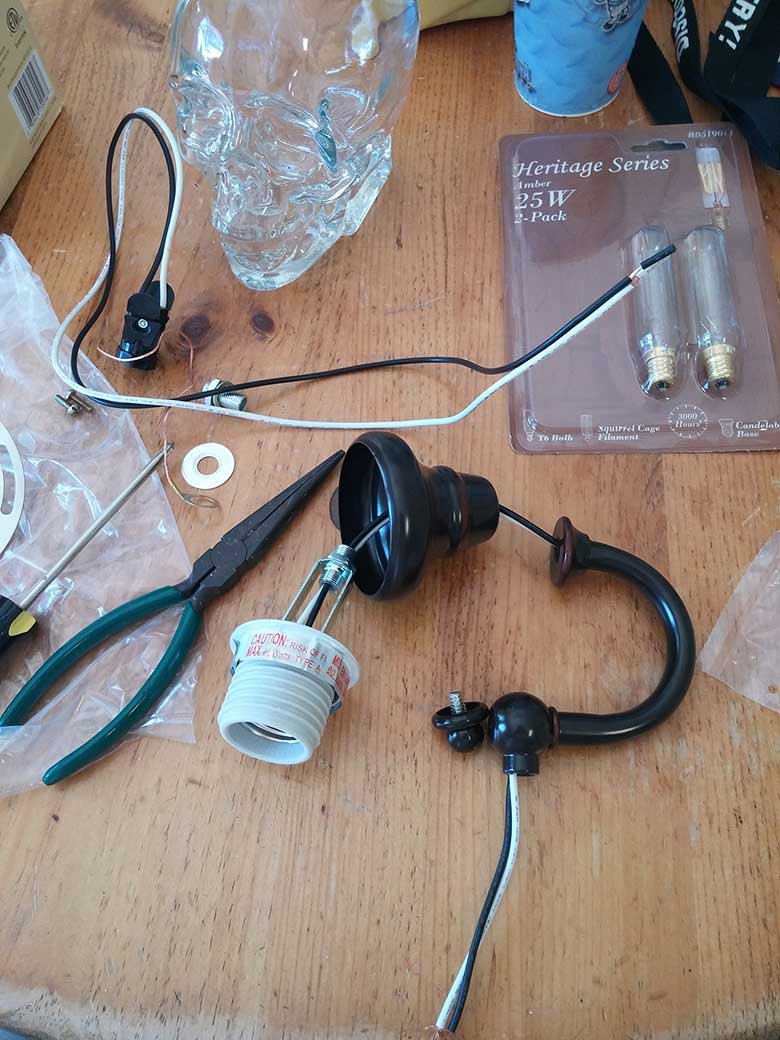
Remove the existing bulb socket. It’s too large for the Crystal Head bottle. That’s why we needed the candelabra socket. This one just took a few screws to remove and I pulled it right out.
Step 2

You may be able to skip this step depending on the fixture you choose. I was worried about threading my new wires through this little neck so I clipped off the socket and attached the old wires to the new and used them to pull my new socket’s wires through.
Step 3
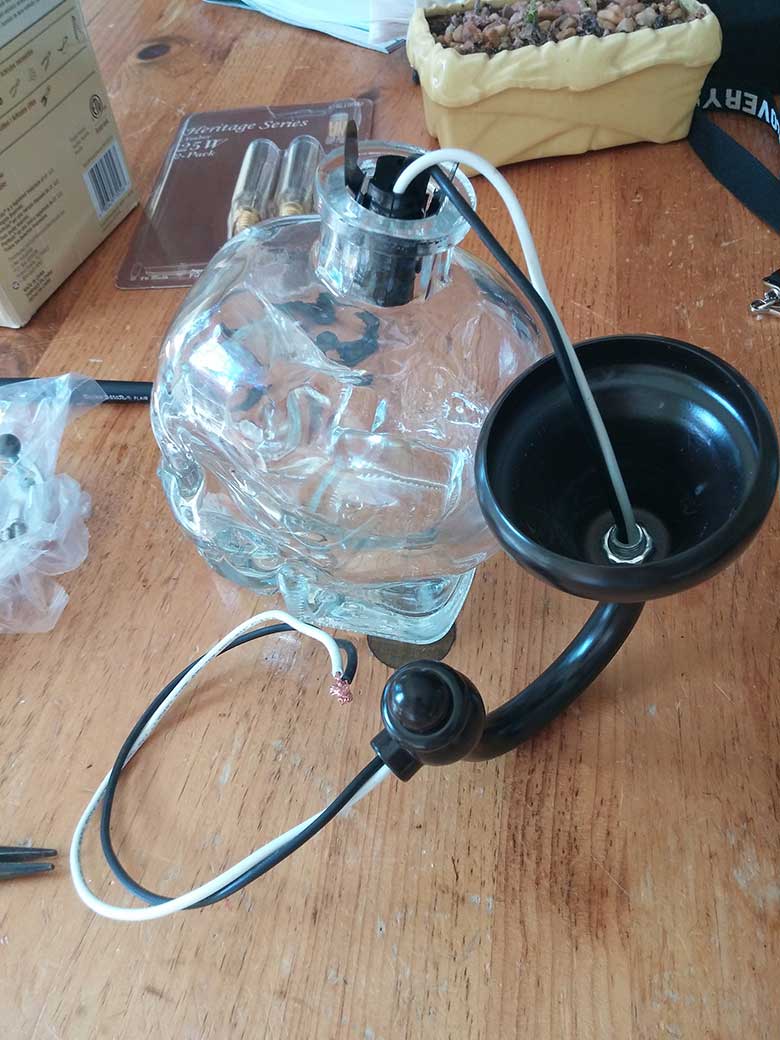
There you have it. The new socket clips in and holds the bulb steady. This does NOT support any of the weight of the glass skull. That happens in the next step. The spring clips are just enough to hold the bulb in place.
Step 4
I figured the easiest way to attach the crystal skull was similar to the way most globes are attached to ceiling fans – via 3-4 screws that come together to “pinch” the globe in place. I didn’t want to try to permanently attach the skull becasue I’d need to replace the bulb every so often. This fixture didn’t have those screws so I drilled 3 holes and put my own machine screws in.
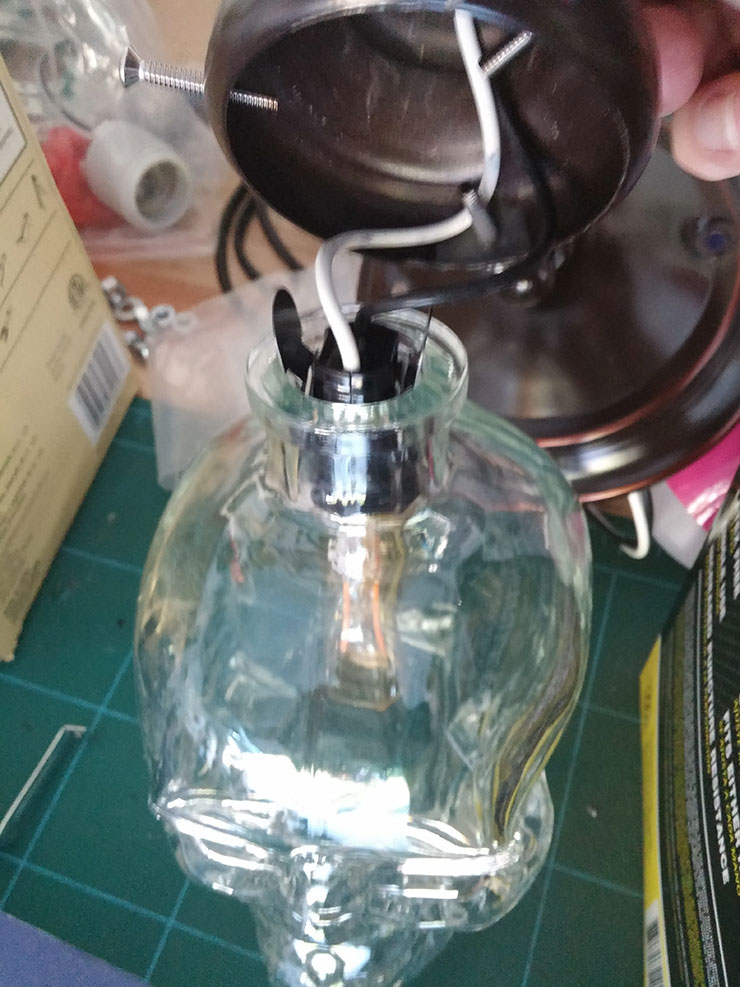
Step 5

Mount the fixture according to manufacturer’s instructions.
Flip the light on and congratulate yourself on an amazing light fixture.
I will probably go back and do some more “weathering” to the fixture to make it look rusty and old, but I was too excited to get it mounted and see how it turned out. Overall I’m thrilled with the way it looks in my house.